Five-steps integration guide
These five steps will help you easily integrate the Apirone Payment Gateway into your application.
Step 1. Configure logs and database
We use callback functions for compatibility with different code to work with databases or logs.
Create a log handler
Create a static function and wrap the logging system in it as a callback. If you do not use logging, you can skip this step. Use the standard PSR-3: Logger Interface, which has a log() method, or use your own function with the following parameters: log($level, $message, $context)
Simple "log to file" implementation:
<?php
use Apirone\SDK\Service\Logger;

$log_handler = static function ($level, $message, $context) {
    $log_file = '/path/to/log_file.txt';
    $data = [$level, $message, $context];
    file_put_contents($log_file, print_r($data, true) . "\r\n", FILE_APPEND);
};

// Set logger handler
Logger::set($log_handler);
Create database handler
As with logs, wrap the DB class or function used to manipulate the database into a callback function that is passed an SQL query as a parameter.
Once you have created your database callback function, simply set it as a DB handler.
use Apirone\SDK\Service\Db;

$db_handler = static function ($query) {
    // Your implementation here;
    // Just run a sql query and return the result
}

Db::handler($db_handler);
WARNING
If you do not install the handler, an exception will be thrown when accessing the data store.
Invoice table
After installing the DB-handler, create an invoice table in the database. To do this, just execute the DB::install() method once.
<?php
use Apirone\SDK\Service\Db;

// Create an invoice table
Db::install();
To get more details see Db class;
Step 2. Working with API callbacks
Adding callbacks handler
The Apirone service informs you of invoice events with callbacks. Create a page that supports the POST request method and add a call to the Invoice::callbackHandler(); method on the page.
You will use the URL of this page when creating the Invoice as a callback_url parameter.
Handling callback data
When the callback is received you can process its data in your app. To do this, you can create a $callbackChecker and a $paymentProcessing callback functions and pass them as parameters into Invoice::callbackHandler();
Step 3. Creating and managing an account
A special Settings class that allows you to work with accounts, currencies, invoice parameters, fees, etc.
New or existing account
If you don't have an account yet or want to create a new one, just init a new Settings object and call createAccount() method.
<?php
use Apirone\SDK\Model\Settings;

// Create a settings object and account.
$settings = Settings::init()->createAccount();
If you have already had an account, you can create a Settings object using the account ID and transfer key as parameters.
$settings = Settings::fromExistingAccount('account-id', 'transfer-key');Setting up a forwarding
Destination addresses must be set before the invoice can be created. The destination is set separately, one for each currency/network.
// Set the BTC currency and the transfer address for forwarding.
// To save the currency settings you need to use the account and transfer-key values.
$settings->currency('btc')
  ->setAddress('3JH4GWtXNz7us8qw1zAtRr4zuq2nDFXTgu')
  ->save($settings->account, $settings->transferKey);

// Save all networks addresses into account in one action.
// The network address will have priority. Addresses set for tokens will be ignored.
// The account and transfer-key values will be automatically taken from the settings.
$settings->saveNetworks();
INFO
For networks with tokens, the last saved address will be relevant.
WARNING
If you do not specify a destination, no automatic forwarding will take place and funds will accumulate in the account.
Save and restore Settings object
The easiest way to do this is to save the settings to a text file. It is also very easy to restore settings from the file. A more complicated variant is that you implement the way of storing settings yourself.
// Save to file
$settings->toFile('/absolute/path/to/settings.json');

// Restore from file
$settings = Settings::fromFile('/absolute/path/to/settings.json');
Step 4. Invoice creating
The mandatory parameter for creating an invoice is the account id and currency. All other parameters are optional. The account ID can be obtained from the Settings object from the previous step.
$settings = Settings::fromFile('/absolute/path/to/settings.json');

$simplest_invoice = Invoice::init($settings->account, 'btc')->create();
The result of the execution will be a created invoice and a record will be added to the invoice table. In this example, the created invoice will wait for any amount to be paid, after which its status will change to completed.
To create a fixed amount invoice, you can set it up using the amount() method. The amount is indicated in minor units (e.g. 0.005 BTC shall be specified as 500000, e.g. for usdt@trx: 50 usd shall be specified as 50000000).
// 0.005 btc
$invoice_btc = Invoice::init($settings->account, 'btc')
->amount(500000)
->create();
// 50 usd via usdt@trx
$invoice_usdt = Invoice::init($settings->account, 'usdt@trx')
->amount(50000000)
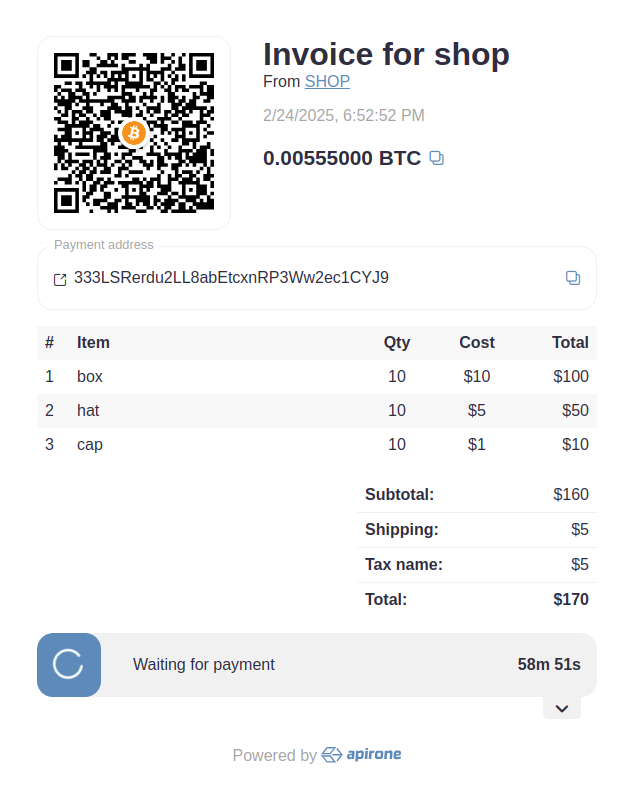
->create();Step 5. Displaying an Invoice
Starting with SDK 2.0, server-side rendering is no longer supported. Instead, we now use Apirone Invoice App. This app, written in Vue, combines the ease of integration with the usability of modern front-end apps.
Local API
By default, Invoice-App uses the Apirone API to retrieve data.
If you want to display invoices created only in your app, you'll need to configure your own API endpoints. You need to set up two endpoints: wallets and invoices - wallets to receive the list of currencies and invoices to receive the invoice data. The Api class is provided for this purpose. For example, let's say your API is accessible at https://my_domain.net/api and we use this URL as service_url parameter to configure our Invoice application in the next step.
Invoice App
We now use the official app, which will look the same whether it's hosted on the Apirone service or on your website.
Just add src/assets/styles.css and src/assets/script.js to the page where you want to display the invoice. In the attributes of the container where the invoice should be displayed, add id="app"
<!doctype html>
<html lang="en">
    <head>
        <script>
            window.invoice_app_config = {
                service_url: 'https://my_domain.net/api',
            };
        <!-- Add Invoice App script & styles -->
        <script type="module" crossorigin src="/assets/script.min.js"></script>
        <link rel="stylesheet" crossorigin href="/assets/style.min.css">
    </head>
    <body>
        <!-- Add Invoice App container -->
        <div id="app"></div>
    </body>
</html>
What's Next?
Invoice App App - Learn more about setting up the Invoice app or explore the app on GitHub.
Dive deeper - by learning the classes of the library, you will be able to control all available parameters more flexibly and make more fine-tuning and use the full power of the library!